In Depth look at the Honda S2000 Toda Dry Sump kit for the F20c. is it worth $15k?
Category: Pick Ups

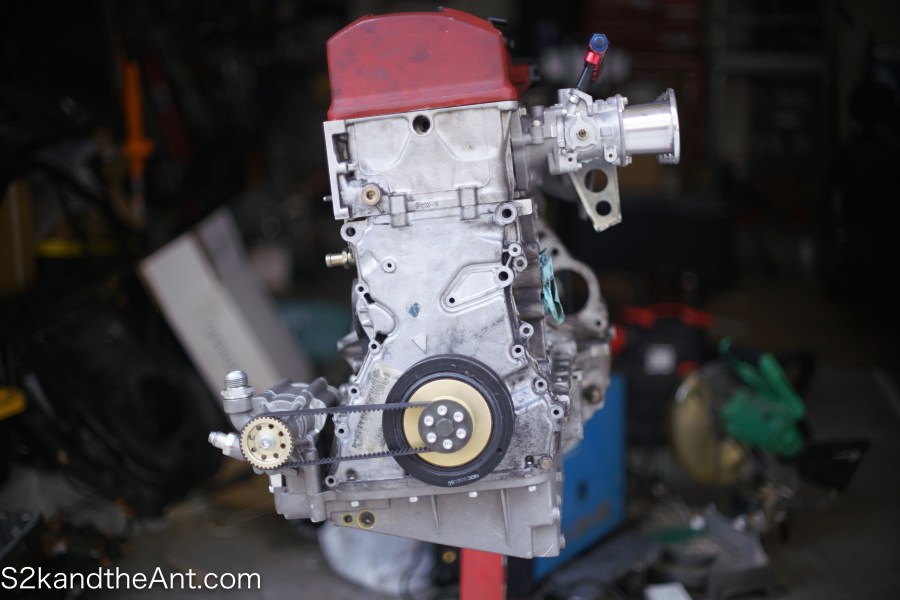
Pick Ups: Brand new OEM S2000 F22c Shortblock
Today I took delivery of a brand new OEM Honda short block. Unfortunately it’s not for my car, but for my friend Edwin. Some guy out in NorCal was selling OEM F22C short blocks for $4500 each! We called Honda and unfortunately they confirmed that they are now discontinued. With that being said, it is… Continue reading Pick Ups: Brand new OEM S2000 F22c Shortblock
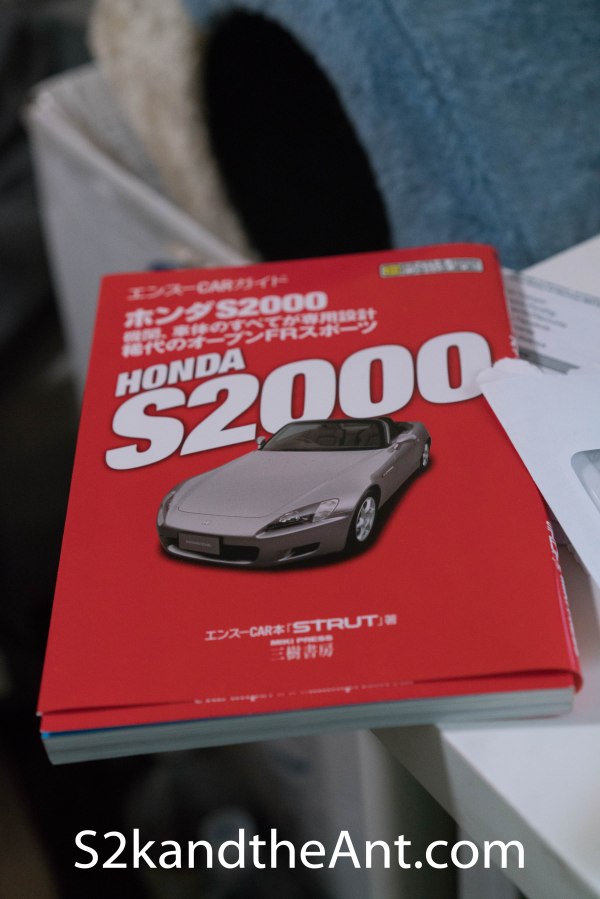
PickUps: JDM Honda S2000 book
2018! and it’s almost Feb already! Pretty nuts how fast my life seems to be moving nowadays. So I don’t know if you know this, but AMAZON JAPAN ships to the USA. Typically for smaller items like books and magazines and such…..It’s way cheaper than your local JDM bookstore, because you are paying the actual… Continue reading PickUps: JDM Honda S2000 book
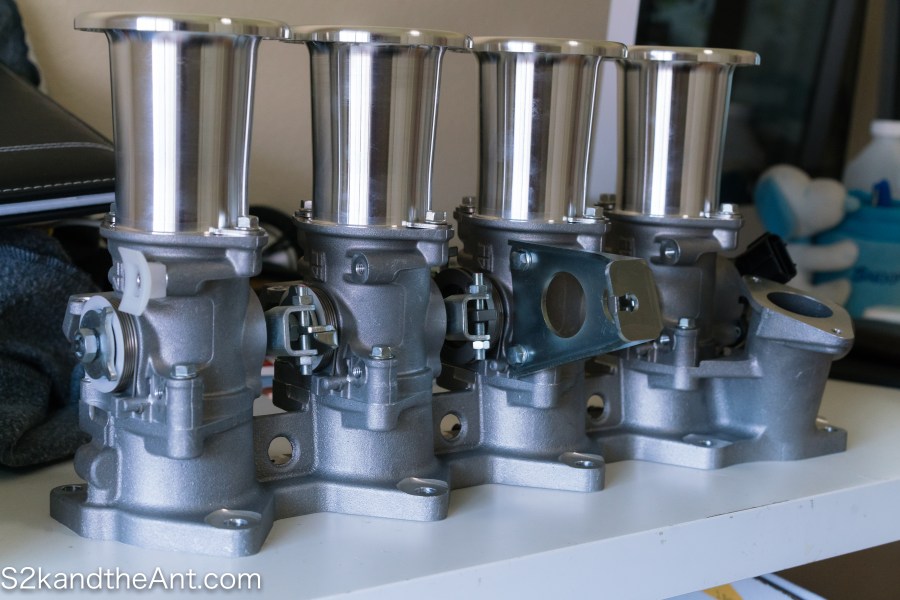
Parts Review/Pick Ups: Toda S2000 ITBs / Sports Injection
Hey guys. I’ve had this part for a while now, holding onto it hoping that one day I can resume my build….. If you guys know me, you guys would also know I’ve done the ITBs thing before. In a previous life I had Jenvey ITBS. You can check it out here, jesus it’s crazy… Continue reading Parts Review/Pick Ups: Toda S2000 ITBs / Sports Injection
PickUps/Parts Review: TODA RACING 60-70MM CATALYST ADAPTER (TestPipe)
I got some parts reviews I’ve been meaning to put up…. Since I have an ASM 70mm Titanium exhaust (Which I believe is the best S2k exhaust ever, much better than the SS version, the sound is so crisp!), I’ve always ran it with an invidia 70mm testpipe which is 70mm straight through, for what… Continue reading PickUps/Parts Review: TODA RACING 60-70MM CATALYST ADAPTER (TestPipe)

Pick Ups: Recaro SR-7 ASM IS-11 with Recaro Japan Rail
It’s crazy how things can change over time. If you were to talk to me about my S2k 4-5 years ago, I would have told you, “Race Car Bro.” Now I have come to the conclusion that I’m a shitty driver, and I would like a well-rounded car. Not only can I play pretend racecar… Continue reading Pick Ups: Recaro SR-7 ASM IS-11 with Recaro Japan Rail
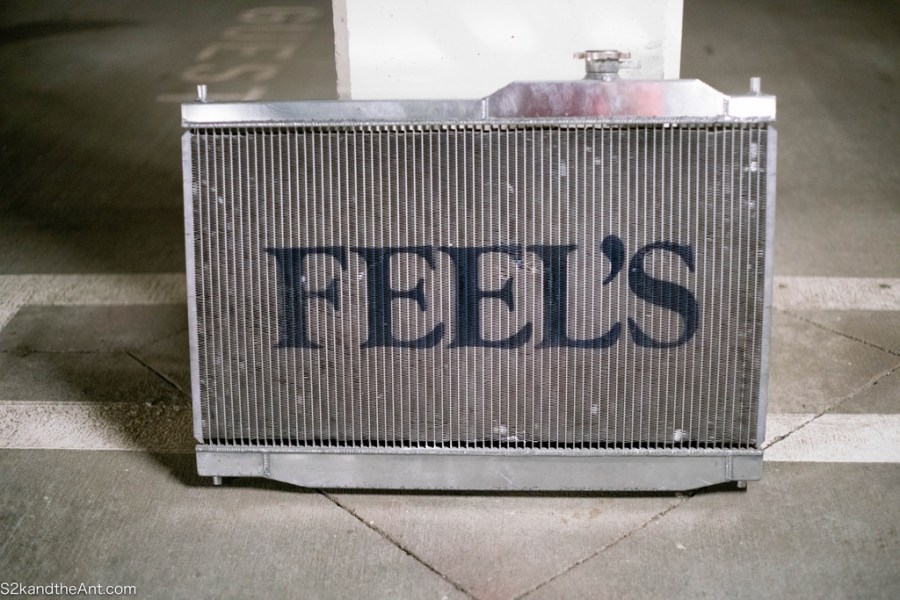
Pick Ups: FEEL’S Radiator + Billion Hoses + Mugen Fan Switch
Sup internet! Things have been slow recently on the site… We just purchased a house and we’re in the process of getting things finalized. As you know houses in Southern California are crazy expensive! My only requirement is a garage, luckily the house we are looking at has enough room for 3 cars! No more… Continue reading Pick Ups: FEEL’S Radiator + Billion Hoses + Mugen Fan Switch
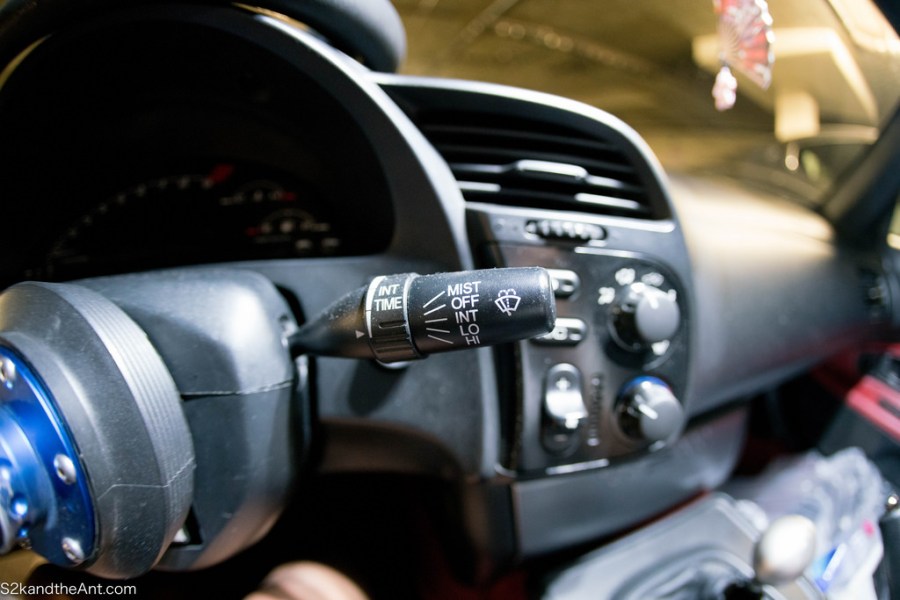
Tech: S2000 Variable Intermittent Wipers
Tech: S2000 Variable Intermittent Wipers One thing that has always irritated me about the S2000 is that the wipers only work in three settings. A predefined INT, Low, and High, but sometimes that INT setting isn’t enough, especially when you are stuck in that awkward area where it is raining, but is raining too little… Continue reading Tech: S2000 Variable Intermittent Wipers
Life/Pick Ups: CraftSquare Mirrors with Blue Tint + Random Toda Pulleys! + More!
Woah, I haven’t updated this blog in awhile. Life is kicking into high gear again. I’ve been studying to do a possible career change. Working in infrastructure IT is kicking my ass and is starting to feel like a burden on my soul…. Luckily for my birthday, my most beautiful and caring wife bought me… Continue reading Life/Pick Ups: CraftSquare Mirrors with Blue Tint + Random Toda Pulleys! + More!
Pick Ups/DIY: Spoon Radiator Stays + Opera Performance Reservoir Covers + Mugen Bolts
Pick Ups/DIY: Spoon Radiator Stays + Opera Performance Reservoir Covers + Mugen Bolts I noticed my OEM Radiator stays were getting a bit crusty, so in went some Spoon Radiator Stays in black. The are a generic unit from Spoon, they fit all Hondas, and fits the S2000 with no difficulties. The old radiator stay… Continue reading Pick Ups/DIY: Spoon Radiator Stays + Opera Performance Reservoir Covers + Mugen Bolts
