The S2k and the Ant
Home
My S2000
Hi, I’m Anthony. I’m a 20 something year old with a love for the Honda S2000′s. This is my blog about my S2000, other S2000s, and other cars that interests me. Engine – Jenvey ITBs – Kpro with RSX wideband – Cusco Oil Catch Can – J’s racing header – Berk 70mm HFC – ASM 70mm Titanium Exhaust – Toda Valve springs (not installed) Exterior/Interior – AP2 Front bumper – AP2 Headlights – AP2 Radio Door – AP2 Taillights – AP2 Center console – AP2 Dead pedal – Alpine Head Unit w/ Modifry DCI – Mugen Gen III steering wheel – UKDM Ap2 cluster with 9k redline – UKDM accord key retrofit – Works Bell short hub/quick release – CR shift knob – Bride Gias seat – Hard dog rollbar with lower harness bar and diagonal – Hard dog bulkhead bracket Wheels/Tires -AP2 V1 Rims -Bridgestone Potenza RE-11
Shop
May 14, 2026
2024 A recap Part 2
May 14, 2026
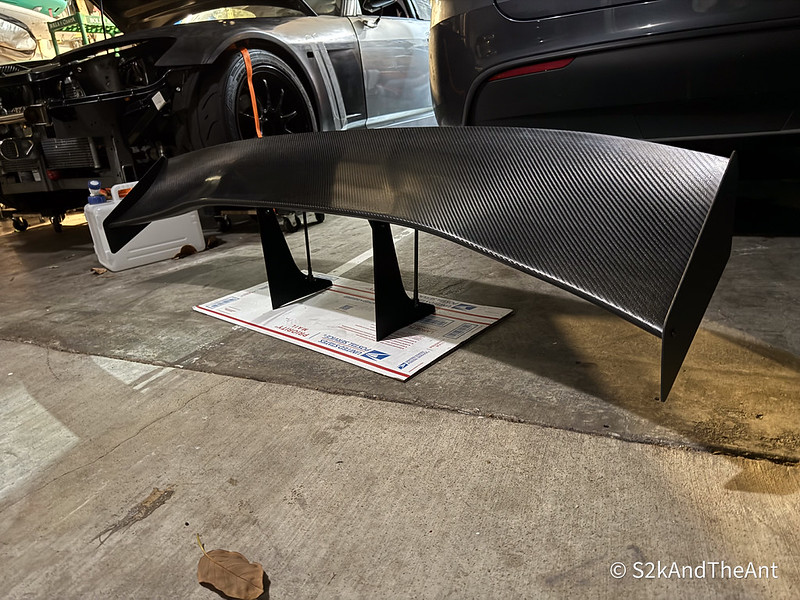
We made a wing! or *Amuse Dry Carbon Wing | Test fit on my car
May 8, 2026
2024 Recap: A trip to Mastercraft + Opera Performance gussets + ARE drysump mounts
May 3, 2026
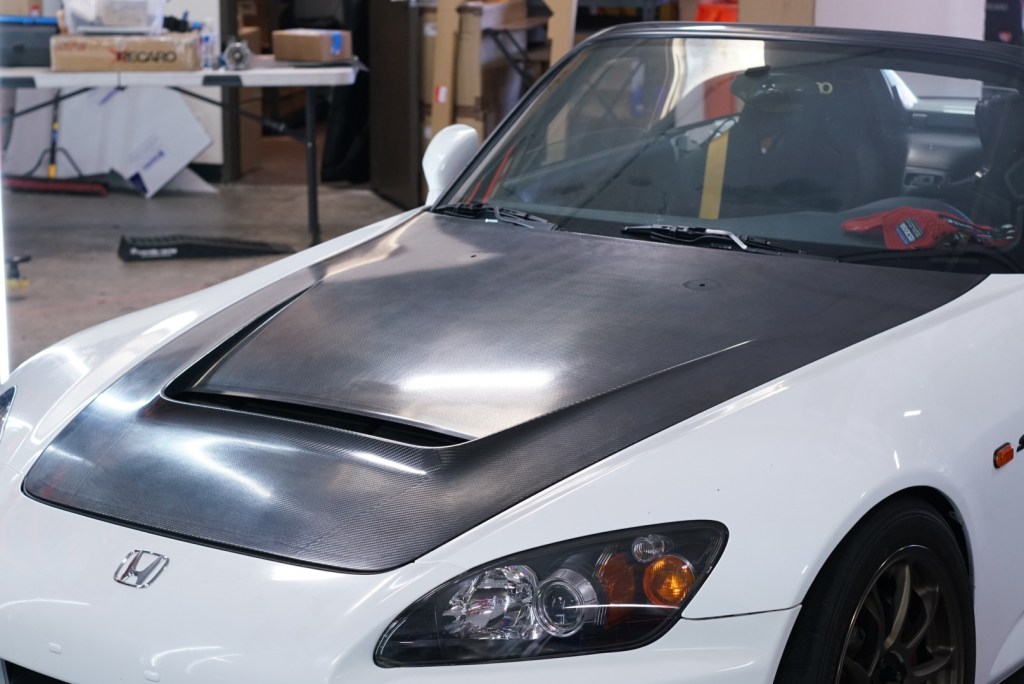
WE MADE A HOOD! *or Amuse R1 Dry Carbon Bonnet*
March 29, 2026
2023 Recap part 6 finale
March 1, 2026
2023 Recap part 5 Japan Trip! Japan series part 2
February 27, 2026
2023 Recap part 5 Japan Trip! Toda Racing. Japan series part 1
November 9, 2025
2023 Recap part 4 in Taiwan and China…
April 22, 2025
2023 Recap Part 3… Skylines, JCCS…..
February 10, 2025
2023 Recap Part 2
1
2
3
…
21
Older Posts
Subscribe
Subscribed
The S2k and the Ant
Join 31 other subscribers
Sign me up
Already have a WordPress.com account?
Log in now.
The S2k and the Ant
Subscribe
Subscribed
Sign up
Log in
Report this content
View site in Reader
Manage subscriptions
Collapse this bar